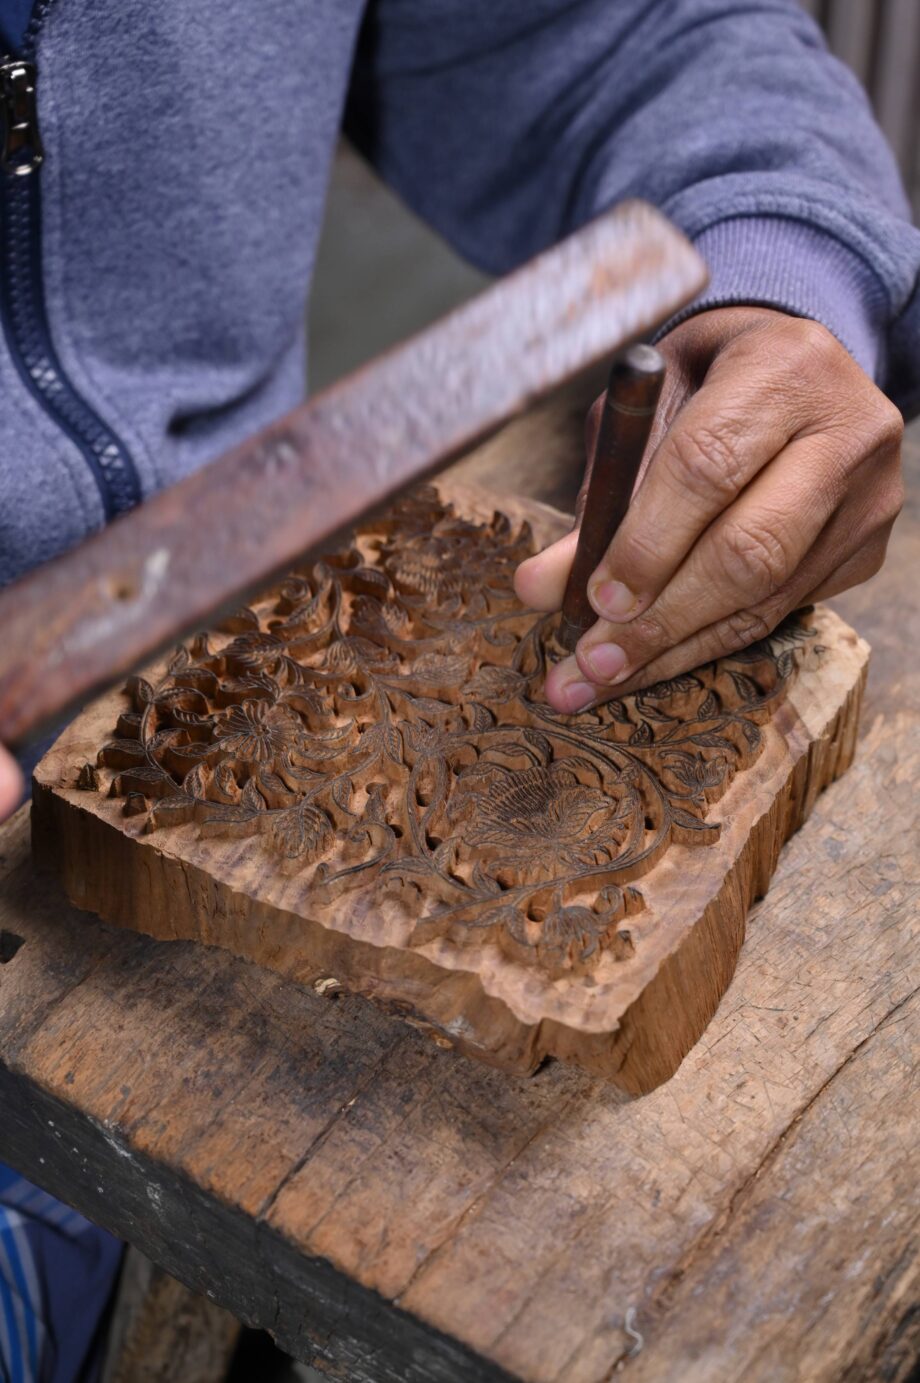
Printing block making is a fascinating craft that combines art and engineering to create high-quality prints. It involves creating blocks or plates that can be inked and pressed onto paper or other surfaces to transfer images or text. Here’s an overview of the process:
1. Design Preparation
- Concept: Start with a design or image you want to print. This could be anything from intricate patterns to simple text.
- Drawing: Sketch your design onto paper or use graphic design software if working digitally.
2. Block Selection
- Materials: Choose a block material that suits your printing method. Common materials include:
- Wood: Traditional and offers a classic look.
- Linoleum: Soft and easier to carve, often used in linocut printing.
- Metal: Durable and used for high-volume printing, such as in letterpress.
- Plastic: Modern and versatile, can be cut with various tools.
3. Transferring the Design
- Direct Transfer: Draw or trace your design directly onto the block.
- Print Transfer: Print your design onto paper and then transfer it to the block using a transfer technique, like carbon paper or a chemical process.
4. Carving or Etching
- Tools: Use carving tools (for wood or linoleum) or etching tools (for metal or plastic) to create your design on the block. Precision and patience are key here.
- Technique: For relief printing, you carve away the areas you don’t want to print, leaving the design raised. For intaglio printing, you etch lines into the surface where the ink will sit.
5. Inking the Block
- Ink: Apply ink to the block using a roller (brayer). Ensure an even coat of ink to avoid smudges or uneven prints.
- Ink Types: Depending on your block material and printing surface, choose the appropriate ink (water-based, oil-based, etc.).
6. Printing
- Press: Use a press to apply even pressure and transfer the inked design onto paper. You can also hand-print using a baren or a simple manual press.
- Paper: Choose paper that suits your ink and block. High-quality, absorbent paper works well for most prints.
7. Cleaning and Finishing
- Clean Up: After printing, clean the block and tools immediately to prevent ink from drying and damaging them.
- Drying: Allow your prints to dry completely before handling them to avoid smudging.
8. Post-Processing
- Adjustments: If necessary, you can make adjustments to your block or printing technique based on the results.
- Framing: Once dry, you can frame or mount your prints as desired.
Tips:
- Experiment: Try different materials and techniques to find what works best for your project.
- Practice: Practice carving and printing to improve your skills and achieve better results.
Block making can be a rewarding craft, allowing you to produce unique and personal prints. Whether you’re making art for yourself or for others, it’s a process that combines creativity with technical skill.

